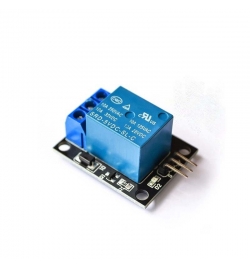
Audio Amplifier Module 4V-12V DC with Volume...
Audio Amplifier Module 4V-12V DC with Volume Control - LM386

Audio Amplifier Module 4V-12V DC with Volume Control - LM386

Modules
DET606
Part.No: AA370
€3.50
In Stock
Immediate Dispatch
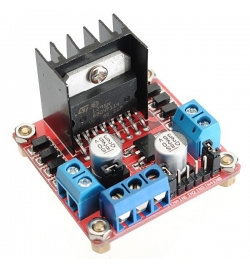
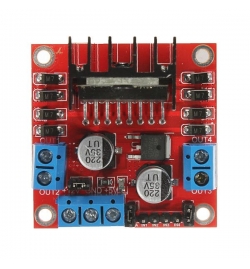
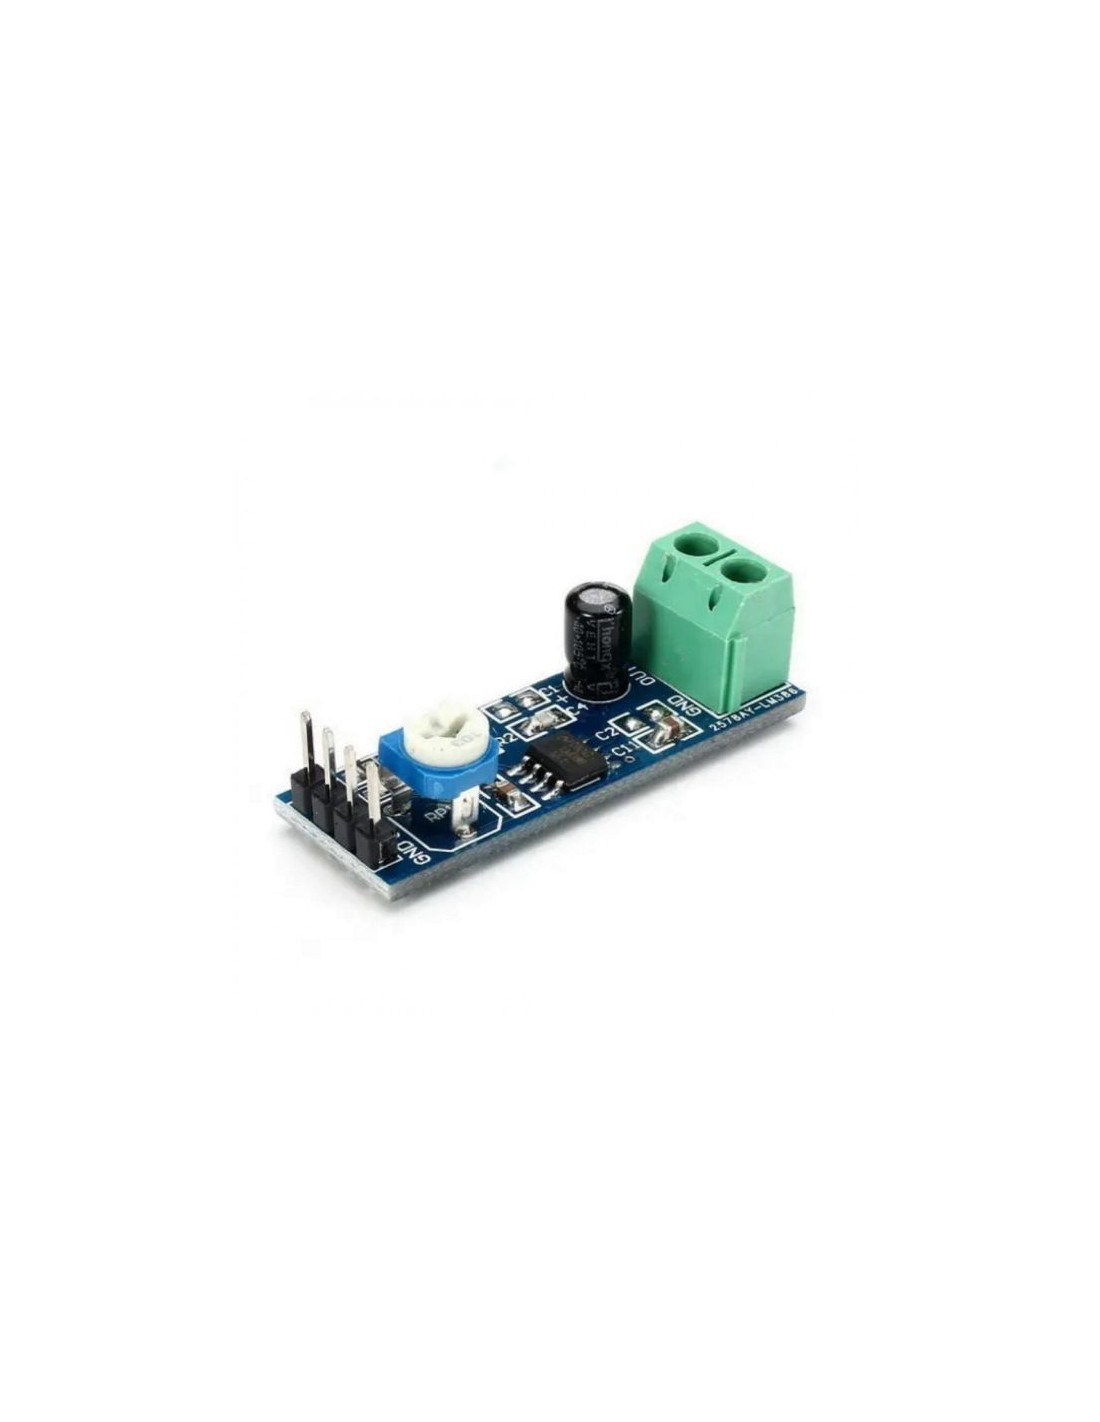
LM386 Audio Amplifier Module operating at 4V–12V DC with on-board 10K volume potentiometer and screw terminal for easy speaker connection. Ideal for Arduino projects, portable speakers, and DIY audio applications.


The LM386 Audio Amplifier Module is a compact, low-voltage audio amplifier built around the classic LM386 IC. Operating across a wide supply range of 4V to 12V DC, it is engineered for makers, hobbyists, and students who need a simple, reliable way to amplify audio signals in battery-powered or microcontroller-driven projects. Its on-board volume control and screw terminal block make it one of the most beginner-friendly audio modules available.

Key Features

  • Wide Supply Voltage (4V–12V DC): Works with common battery packs, USB power banks, and regulated supplies → maximum flexibility for portable builds
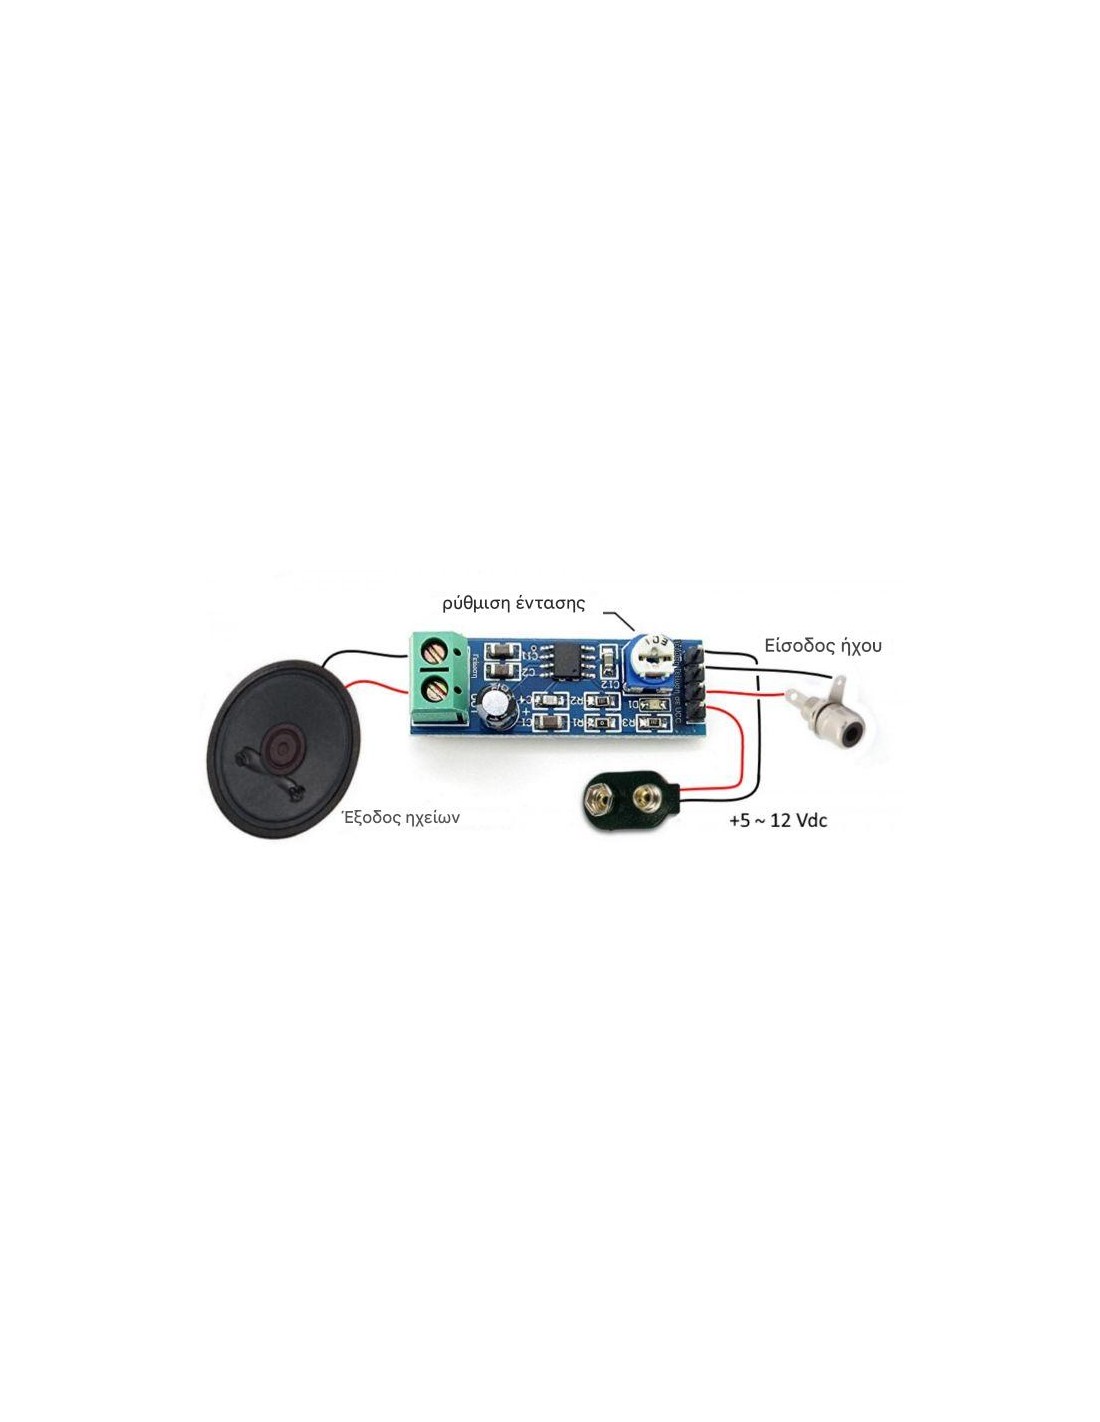
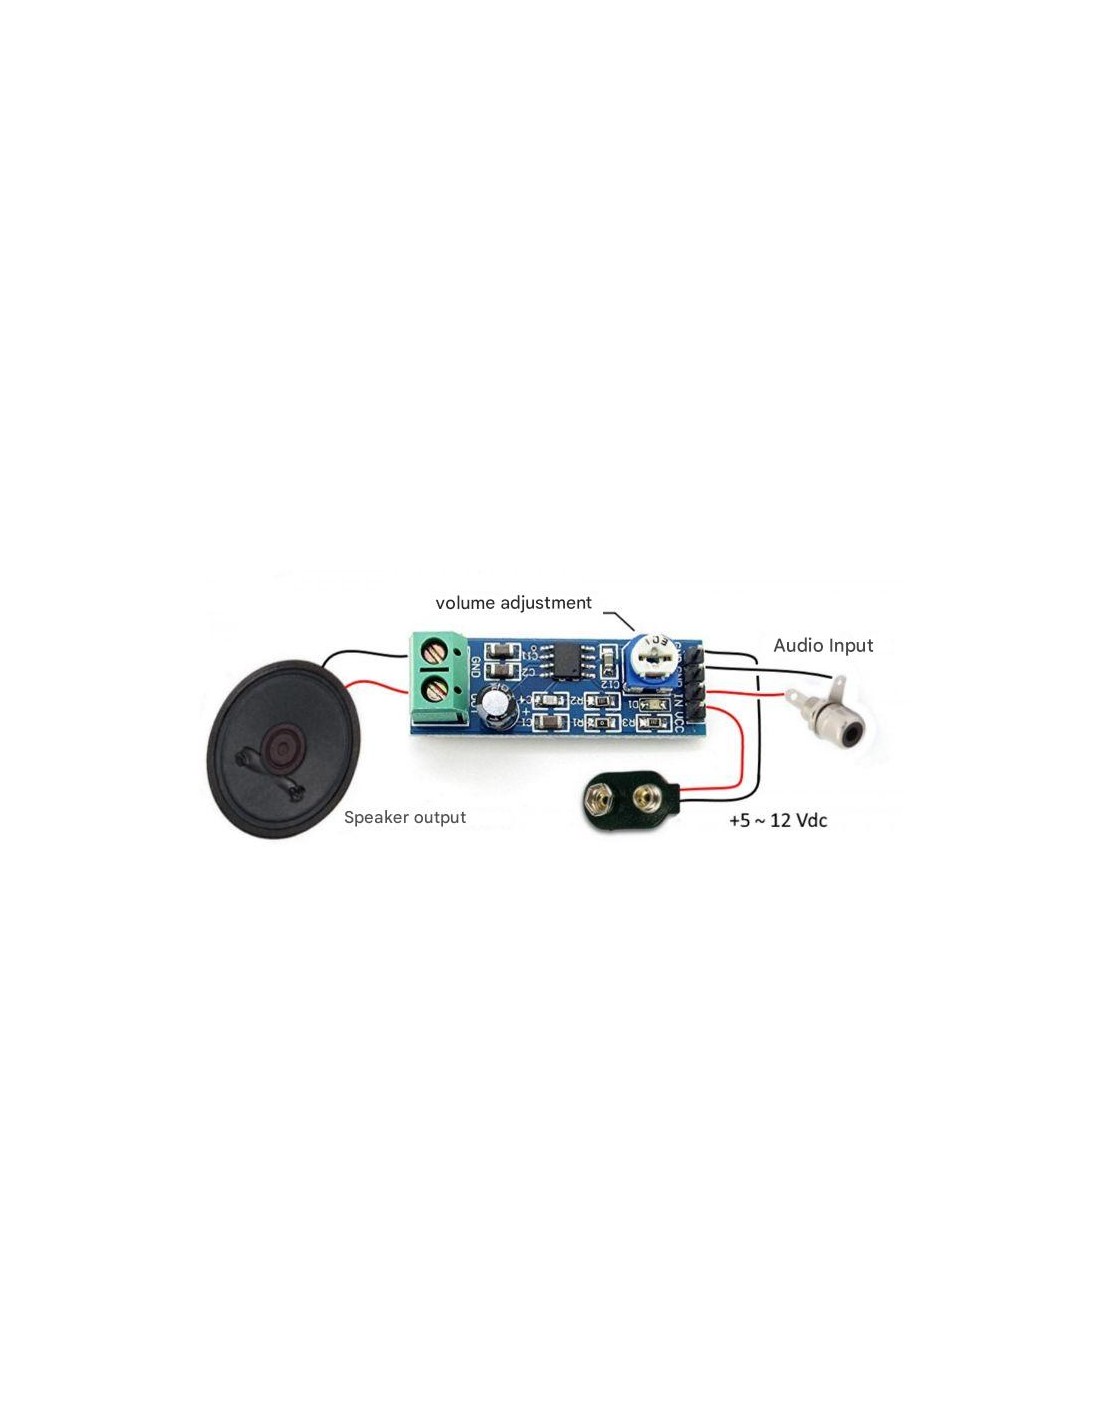
  • On-board 10K Volume Potentiometer: Adjust amplification level directly on the module without any external components → plug-and-play volume control
  • Screw Terminal for Speaker: Tool-friendly connection point for 4–8 Ω speakers → no soldering of speaker wires required
  • Power Indicator LED: Confirms the module is powered at a glance → quick debugging during prototyping
  • Compact Form Factor: Small PCB footprint fits easily inside enclosures, robots, and wearable projects → space-efficient integration

Pinout & Wiring

PINSymbolDescription
1VCCPower supply input: 4V–12V DC
2GNDGround reference
3IN+Audio signal input (positive)
4SPK+Speaker output positive (screw terminal)
5SPK−Speaker output negative (screw terminal)

Wiring note: Connect your audio source (e.g., Arduino DAC, microphone module, or 3.5 mm jack breakout) to IN+ and GND. Connect a 4–8 Ω speaker to the SPK screw terminals. Power the module from the same supply as your microcontroller or a dedicated battery.

Compatibility

  • Arduino UNO / Nano (5V): Fully compatible — power the module from the 5V pin and feed audio signal directly from a DAC or PWM pin.
  • ESP32 / ESP8266 (3.3V I/O): Compatible — use a 5V supply for the module VCC; the 3.3V audio signal level is accepted by the LM386 input.
  • Raspberry Pi: Compatible — drive from the 5V header pin; feed audio from the 3.5 mm jack or a DAC HAT.
  • Standalone battery projects: Any 4–12V source (4× AA, Li-ion, 9V block) powers the module directly.

Typical Applications

  • Portable Bluetooth / wired speakers: Amplify audio from a small audio module to drive a 4–8 Ω speaker without a bulky amplifier board.
  • Arduino voice / sound-effect projects: Pair with a DFPlayer Mini or a DAC module to add amplified audio output to your robot or interactive prop.
  • Microphone pre-amplifier stage: Boost low-level microphone signals for recording or voice-recognition experiments.
  • Intercom & walkie-talkie builds: Amplify received RF audio before feeding it to a speaker in a DIY radio project.
  • Educational electronics: Demonstrate amplifier theory and gain control in school or university lab exercises.

Technical Specifications

ParameterValue
IC / ChipsetLM386
Supply Voltage4V – 12V DC
Volume Control10K potentiometer (on-board)
Speaker Impedance4 – 8 Ω
Speaker ConnectionScrew terminal block
Power IndicatorLED (on-board)

FAQ

Q: Can I use this module with a 9V battery?
A: Yes. The LM386 operates up to 12V DC, so a standard 9V block battery is within the safe operating range and will deliver good output power.

Q: What speaker should I use?
A: A small 4 Ω or 8 Ω speaker (0.5W–1W rated) is ideal for this module. Avoid speakers with impedance lower than 4 Ω, as this may stress the LM386 IC.
Package Contents: 1 × LM386 Audio Amplifier Module

Note: Keep the supply voltage within the 4V–12V range. Exceeding 12V may permanently damage the LM386 IC. Ensure the speaker impedance is ≥ 4 Ω before connecting.
16 other products in the same category:
Product added to wishlist
Product added to compare.