Ελληνικά
Your cart
There are no more items in your cart


How to Run Arduino IDE on ESP32: A Beginner's Setup Guide
18.01.2026
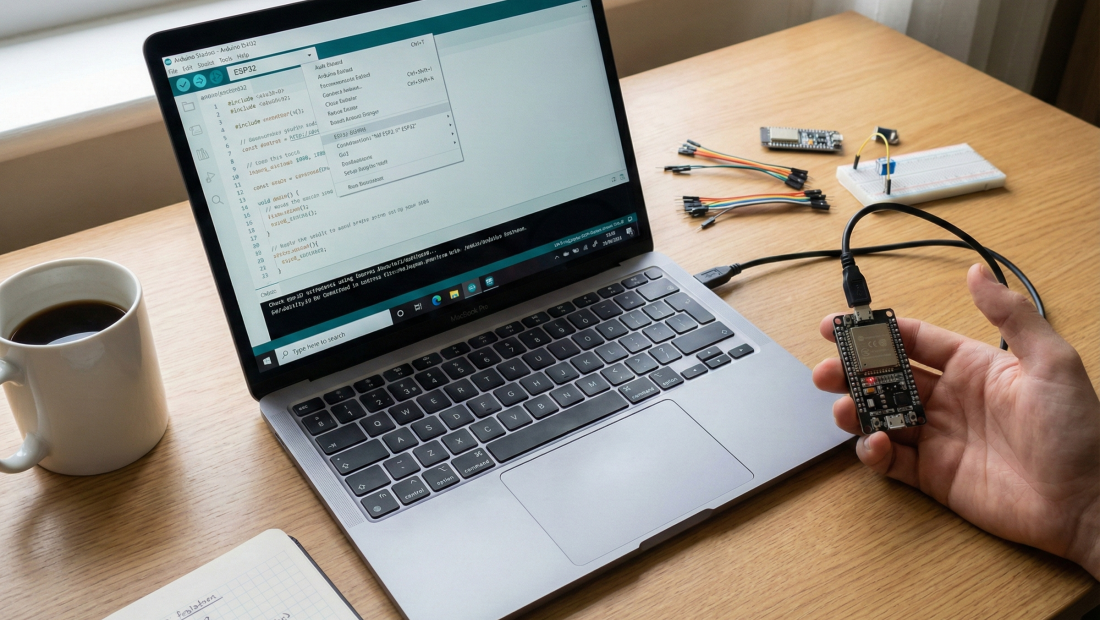
The ESP32 is one of the most popular microcontrollers in the world of makers and engineers today. With built-in Wi-Fi and Bluetooth, a dual-core processor, and low power consumption, it serves as the ideal upgrade from the classic Arduino Uno.
However, to start programming the ESP32, you first need to prepare your development environment. In this guide, we will walk you through step-by-step on how to install and configure the Arduino IDE to work with your ESP32 board.
What You Will Need
Before we begin, ensure you have the following:
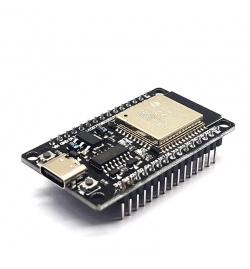
- ESP32 Board: Any version of a Development Board (e.g., DOIT DEVKIT V1).
- USB Cable: Micro-USB or USB-C (depending on your board).
- Note: Make sure the cable is a Data Cable and not just a charging cable. This is the most common mistake beginners make!
- Computer: Windows, Mac, or Linux.
- Internet Connection.
Step 1: Download and Install Arduino IDE
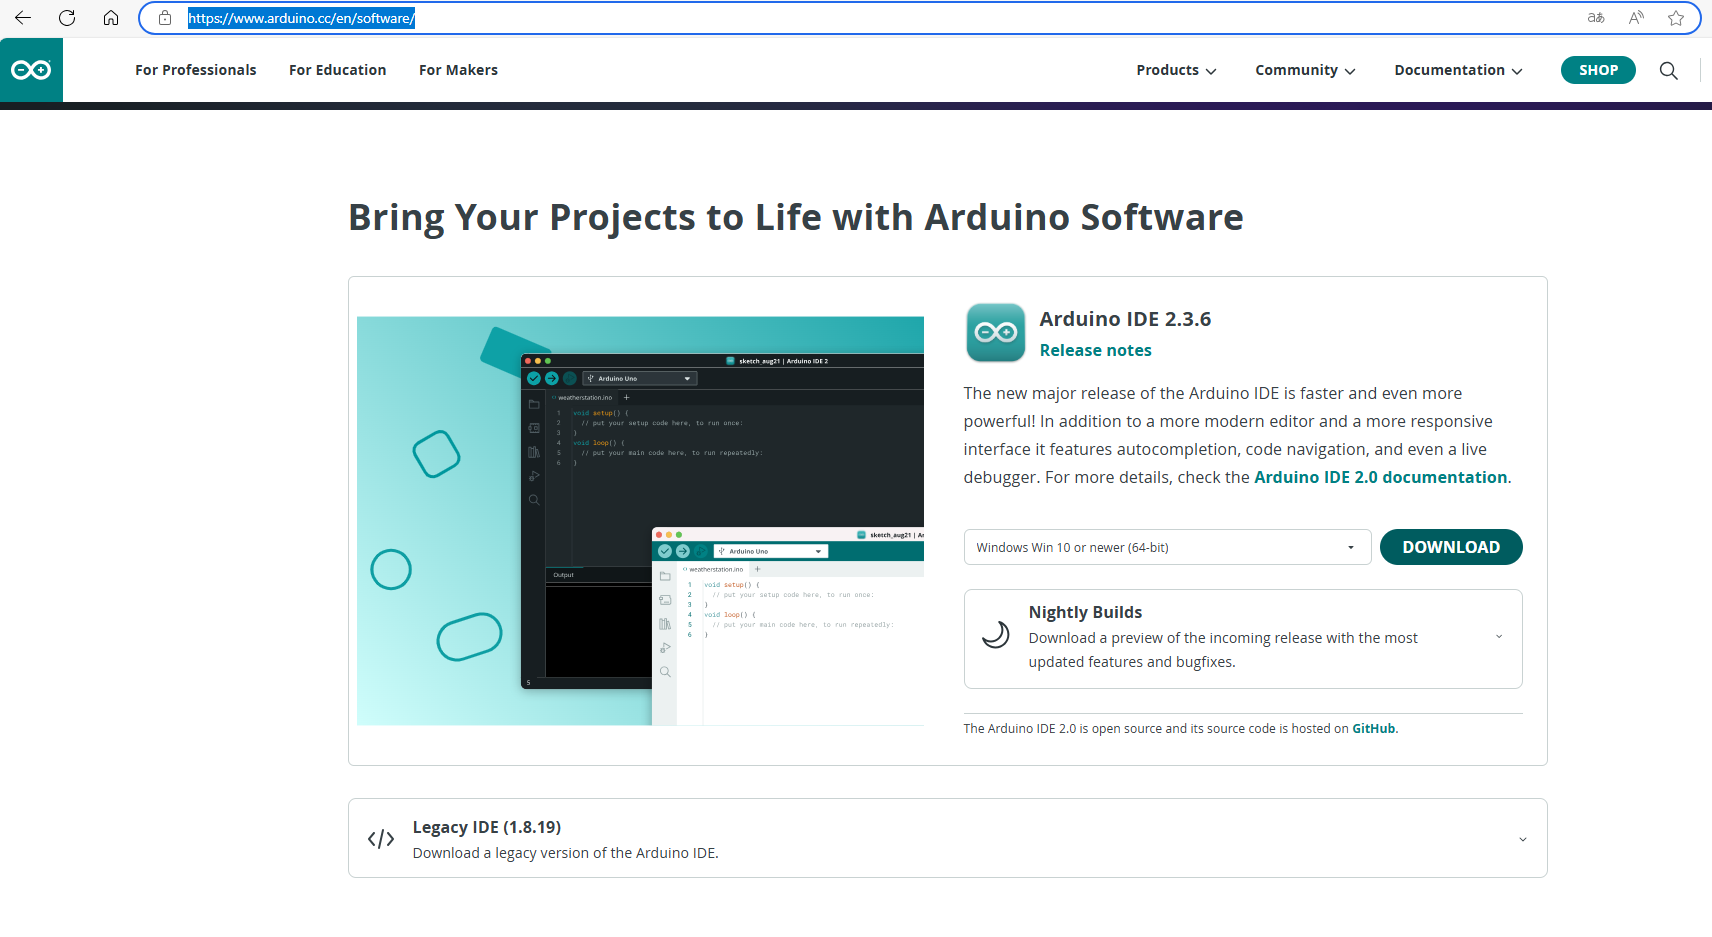
If you haven't installed the Arduino IDE yet, you'll need to download it.
- Visit the official Arduino website: arduino.cc/en/software.
- Download the latest version for your operating system.
- Follow the installation instructions.
Step 2: Add the ESP32 Board Manager URL
By default, the Arduino IDE only recognizes boards from the Arduino company. To let it "see" the ESP32, we need to provide a specific URL.
- Open the Arduino IDE.
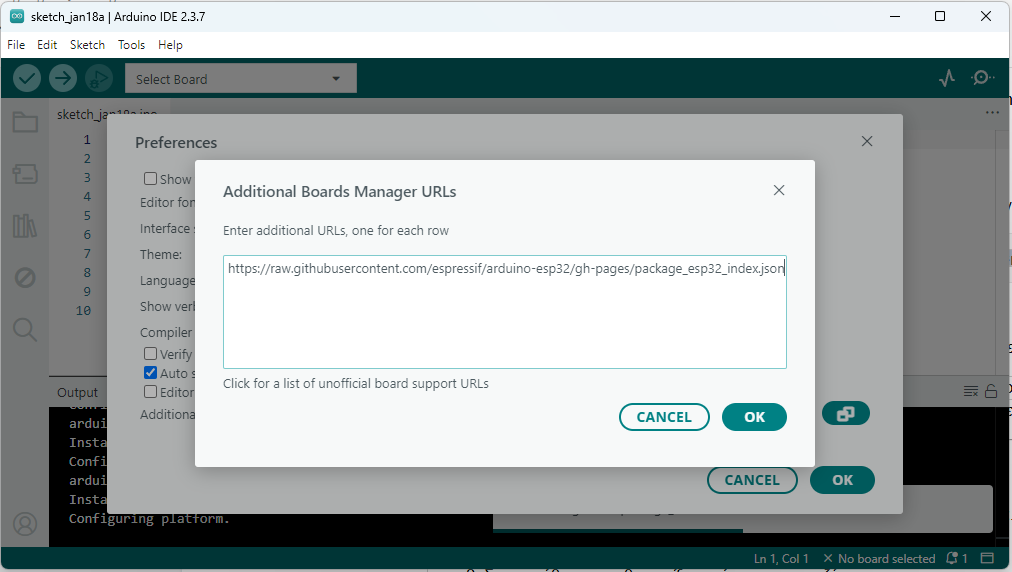
- Go to the menu File > Preferences.
- In the field labeled "Additional Boards Manager URLs", paste the link below:
https://raw.githubusercontent.com/espressif/arduino-esp32/gh-pages/package_esp32_index.json- Click OK.
Note: If you already have other URLs in this field, you can separate them with a comma (,).
Step 3: Install the ESP32 Platform
Now that we've provided the address, we need to download the necessary files.
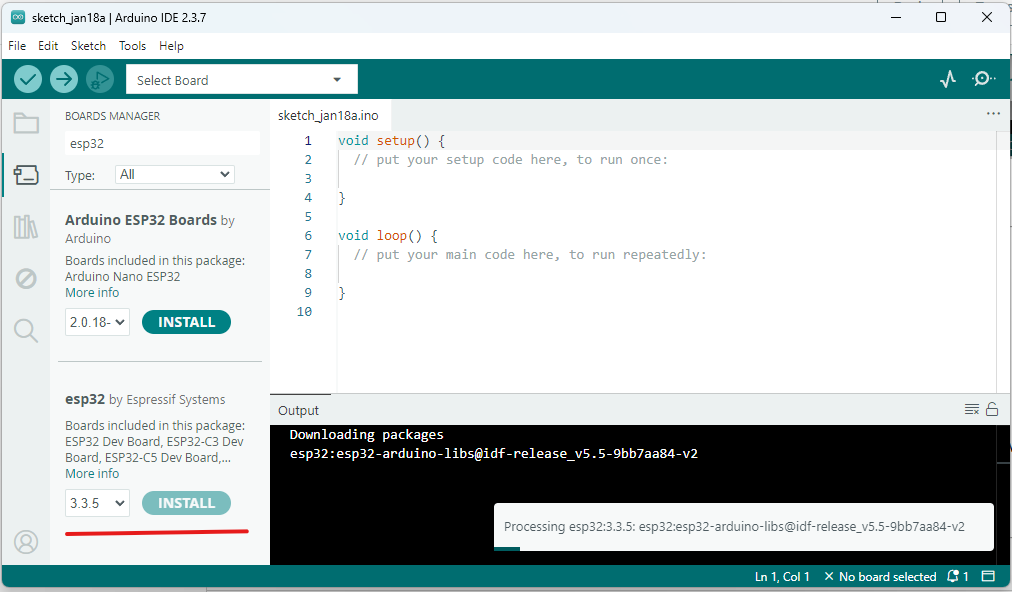
- Go to Tools > Board > Boards Manager....
- In the window that opens, type in the search bar:
esp32. - You will see the option "esp32 by Espressif Systems".
- Click the Install button.
The process may take a few minutes depending on your internet speed. Once completed, you will see the "Installed" tag.
Step 4: Select the Correct Board and Port
Now we are ready to connect the ESP32.
- Connect the ESP32 to your computer using the USB cable.
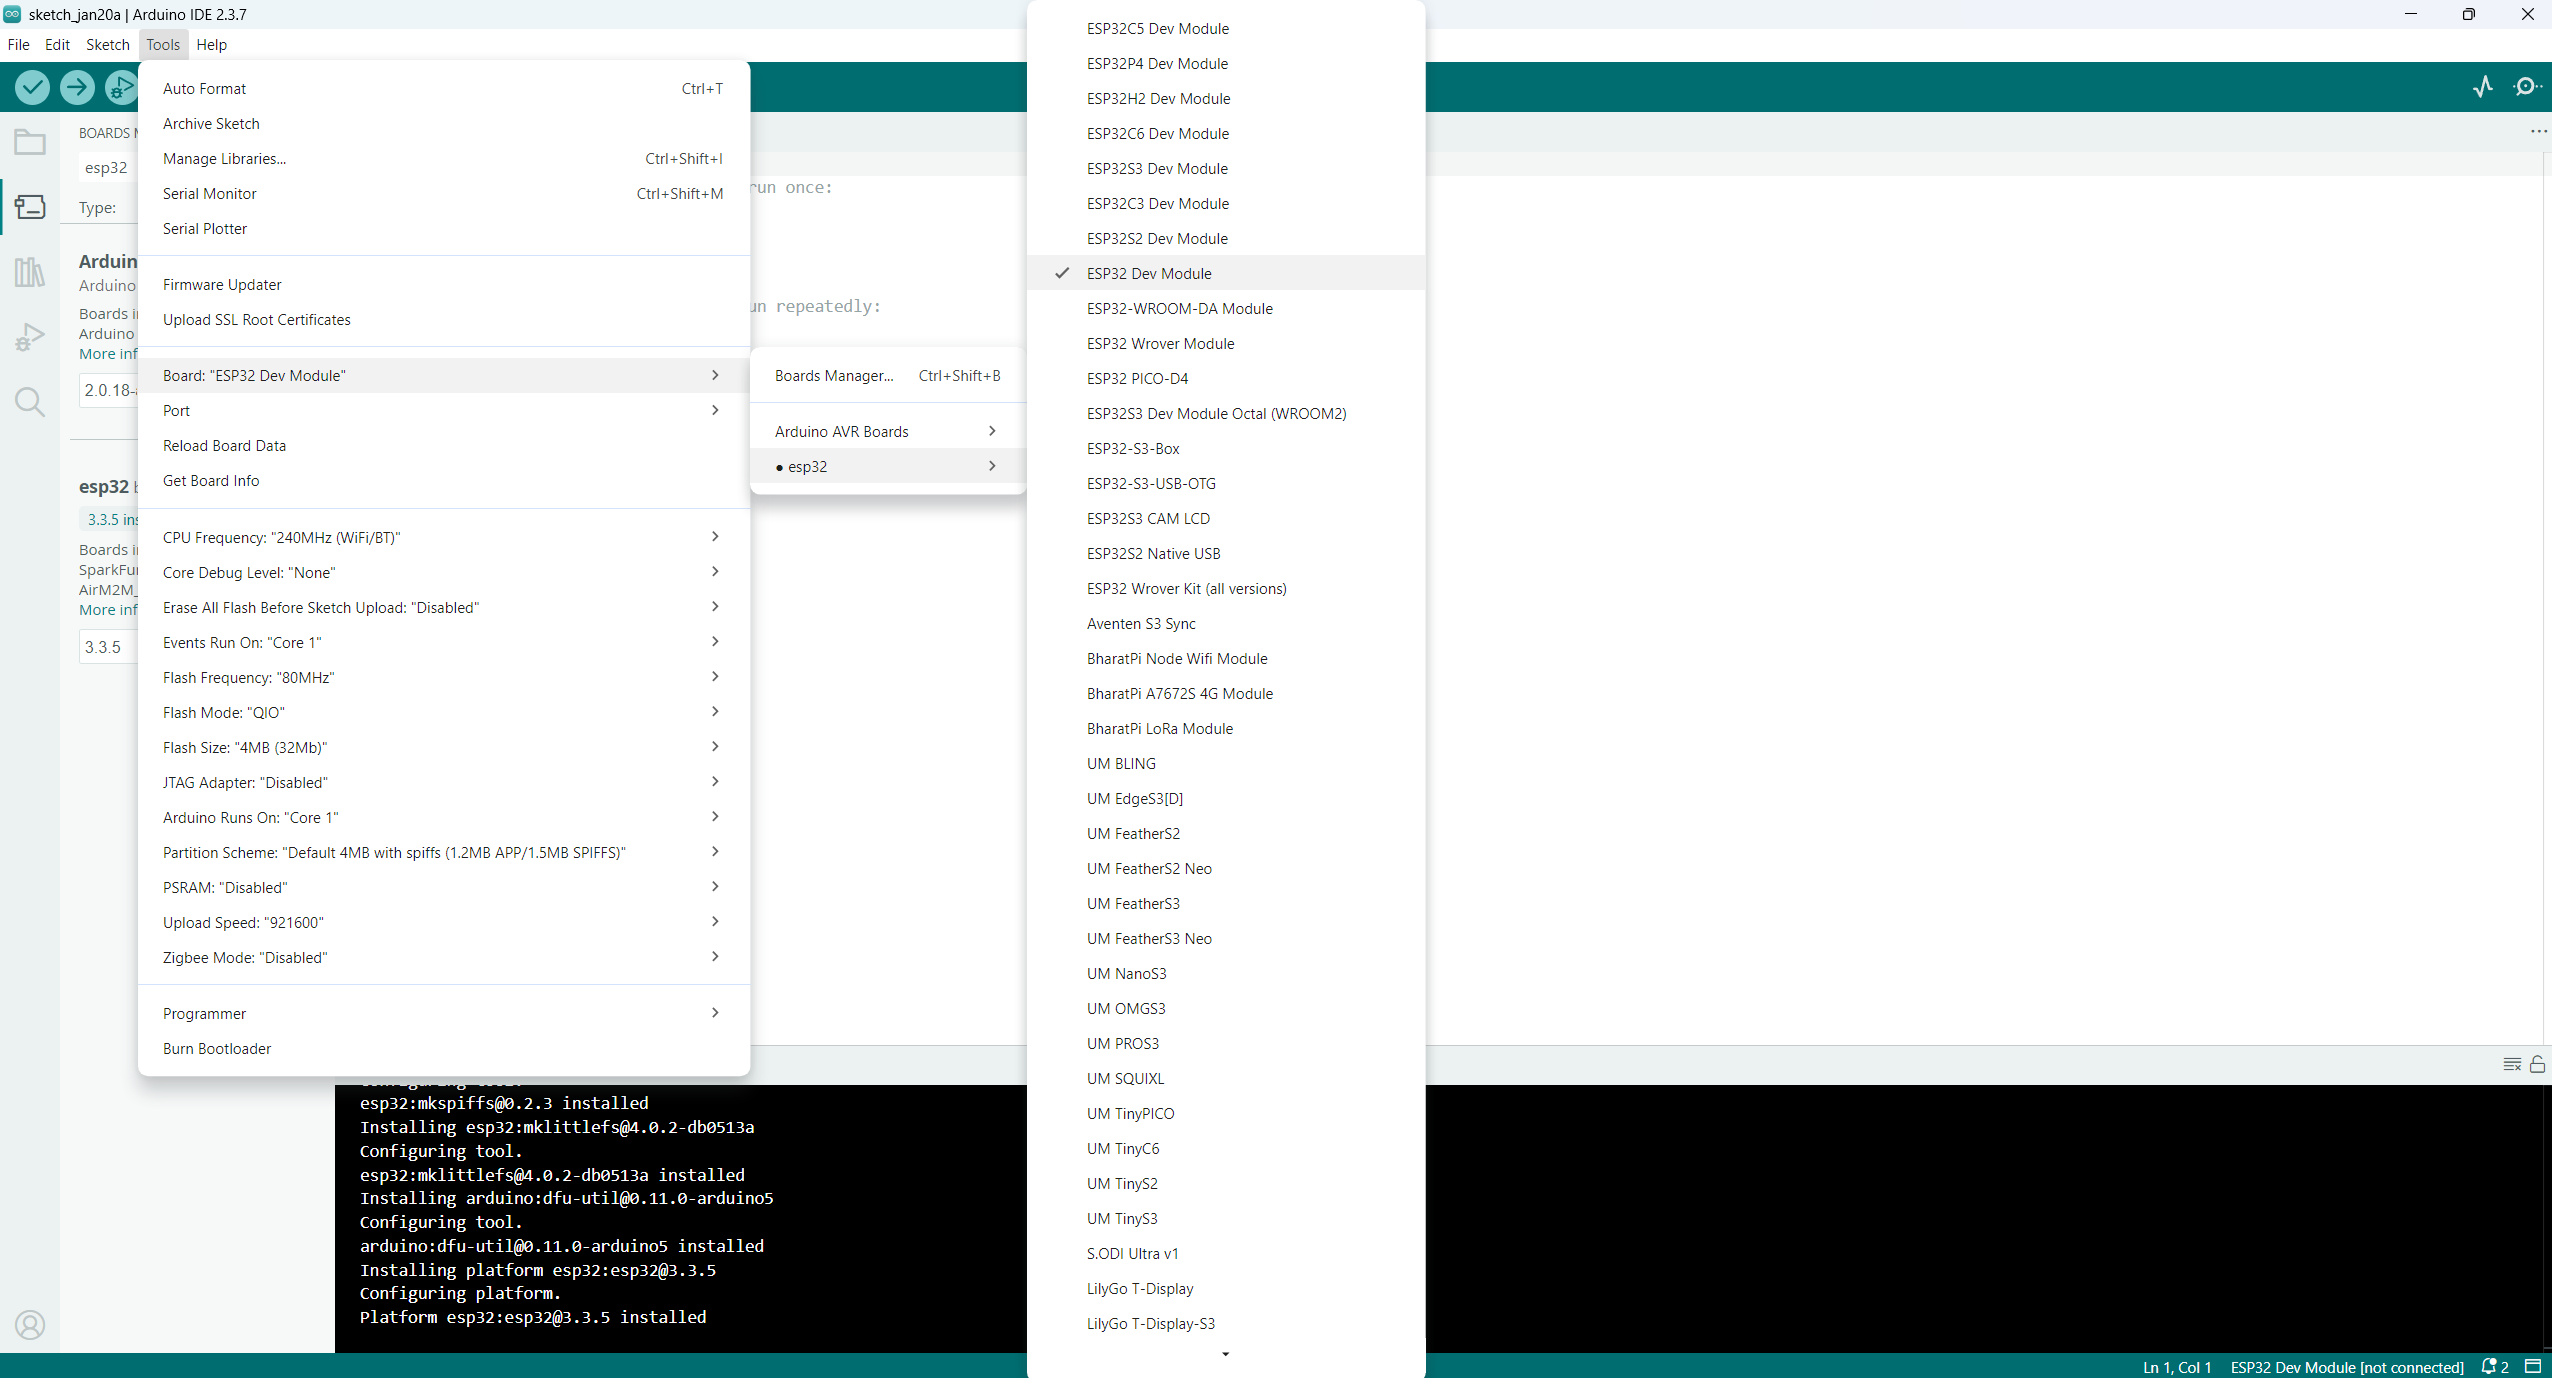
- In the Arduino IDE, go to Tools > Board > ESP32 Arduino.
- Select your board model.
- Tip: If you have a generic board and aren't sure, select "DOIT ESP32 DEVKIT V1" or "ESP32 Dev Module". These usually work for most cases.
- Go to Tools > Port and select the COM port where the device is connected (on Mac it will appear as
/dev/cu.usbserial-xxx).
Step 5: Your First Program (Hello World / Blink)
Let's test if everything is working correctly by uploading the classic "Blink" example (blinking the built-in LED).
Copy the code below into the Arduino IDE:
/*
  Blink Example for ESP32
  Blinks the built-in LED every 1 second.
*/

// On most ESP32 boards, the built-in LED is connected to GPIO 2.
#define LED_BUILTIN 2

void setup() {
  // Initialize the LED pin as an output
  pinMode(LED_BUILTIN, OUTPUT);
}

void loop() {
  digitalWrite(LED_BUILTIN, HIGH);  // Turn the LED on
  delay(1000);                      // Wait for 1 second (1000 ms)
  digitalWrite(LED_BUILTIN, LOW);   // Turn the LED off
  delay(1000);                      // Wait for 1 second
}
The Upload Process
- Click the Upload button (the right arrow icon) at the top of the IDE.
- The program will start compiling and then uploading.
Troubleshooting: The "BOOT" Button
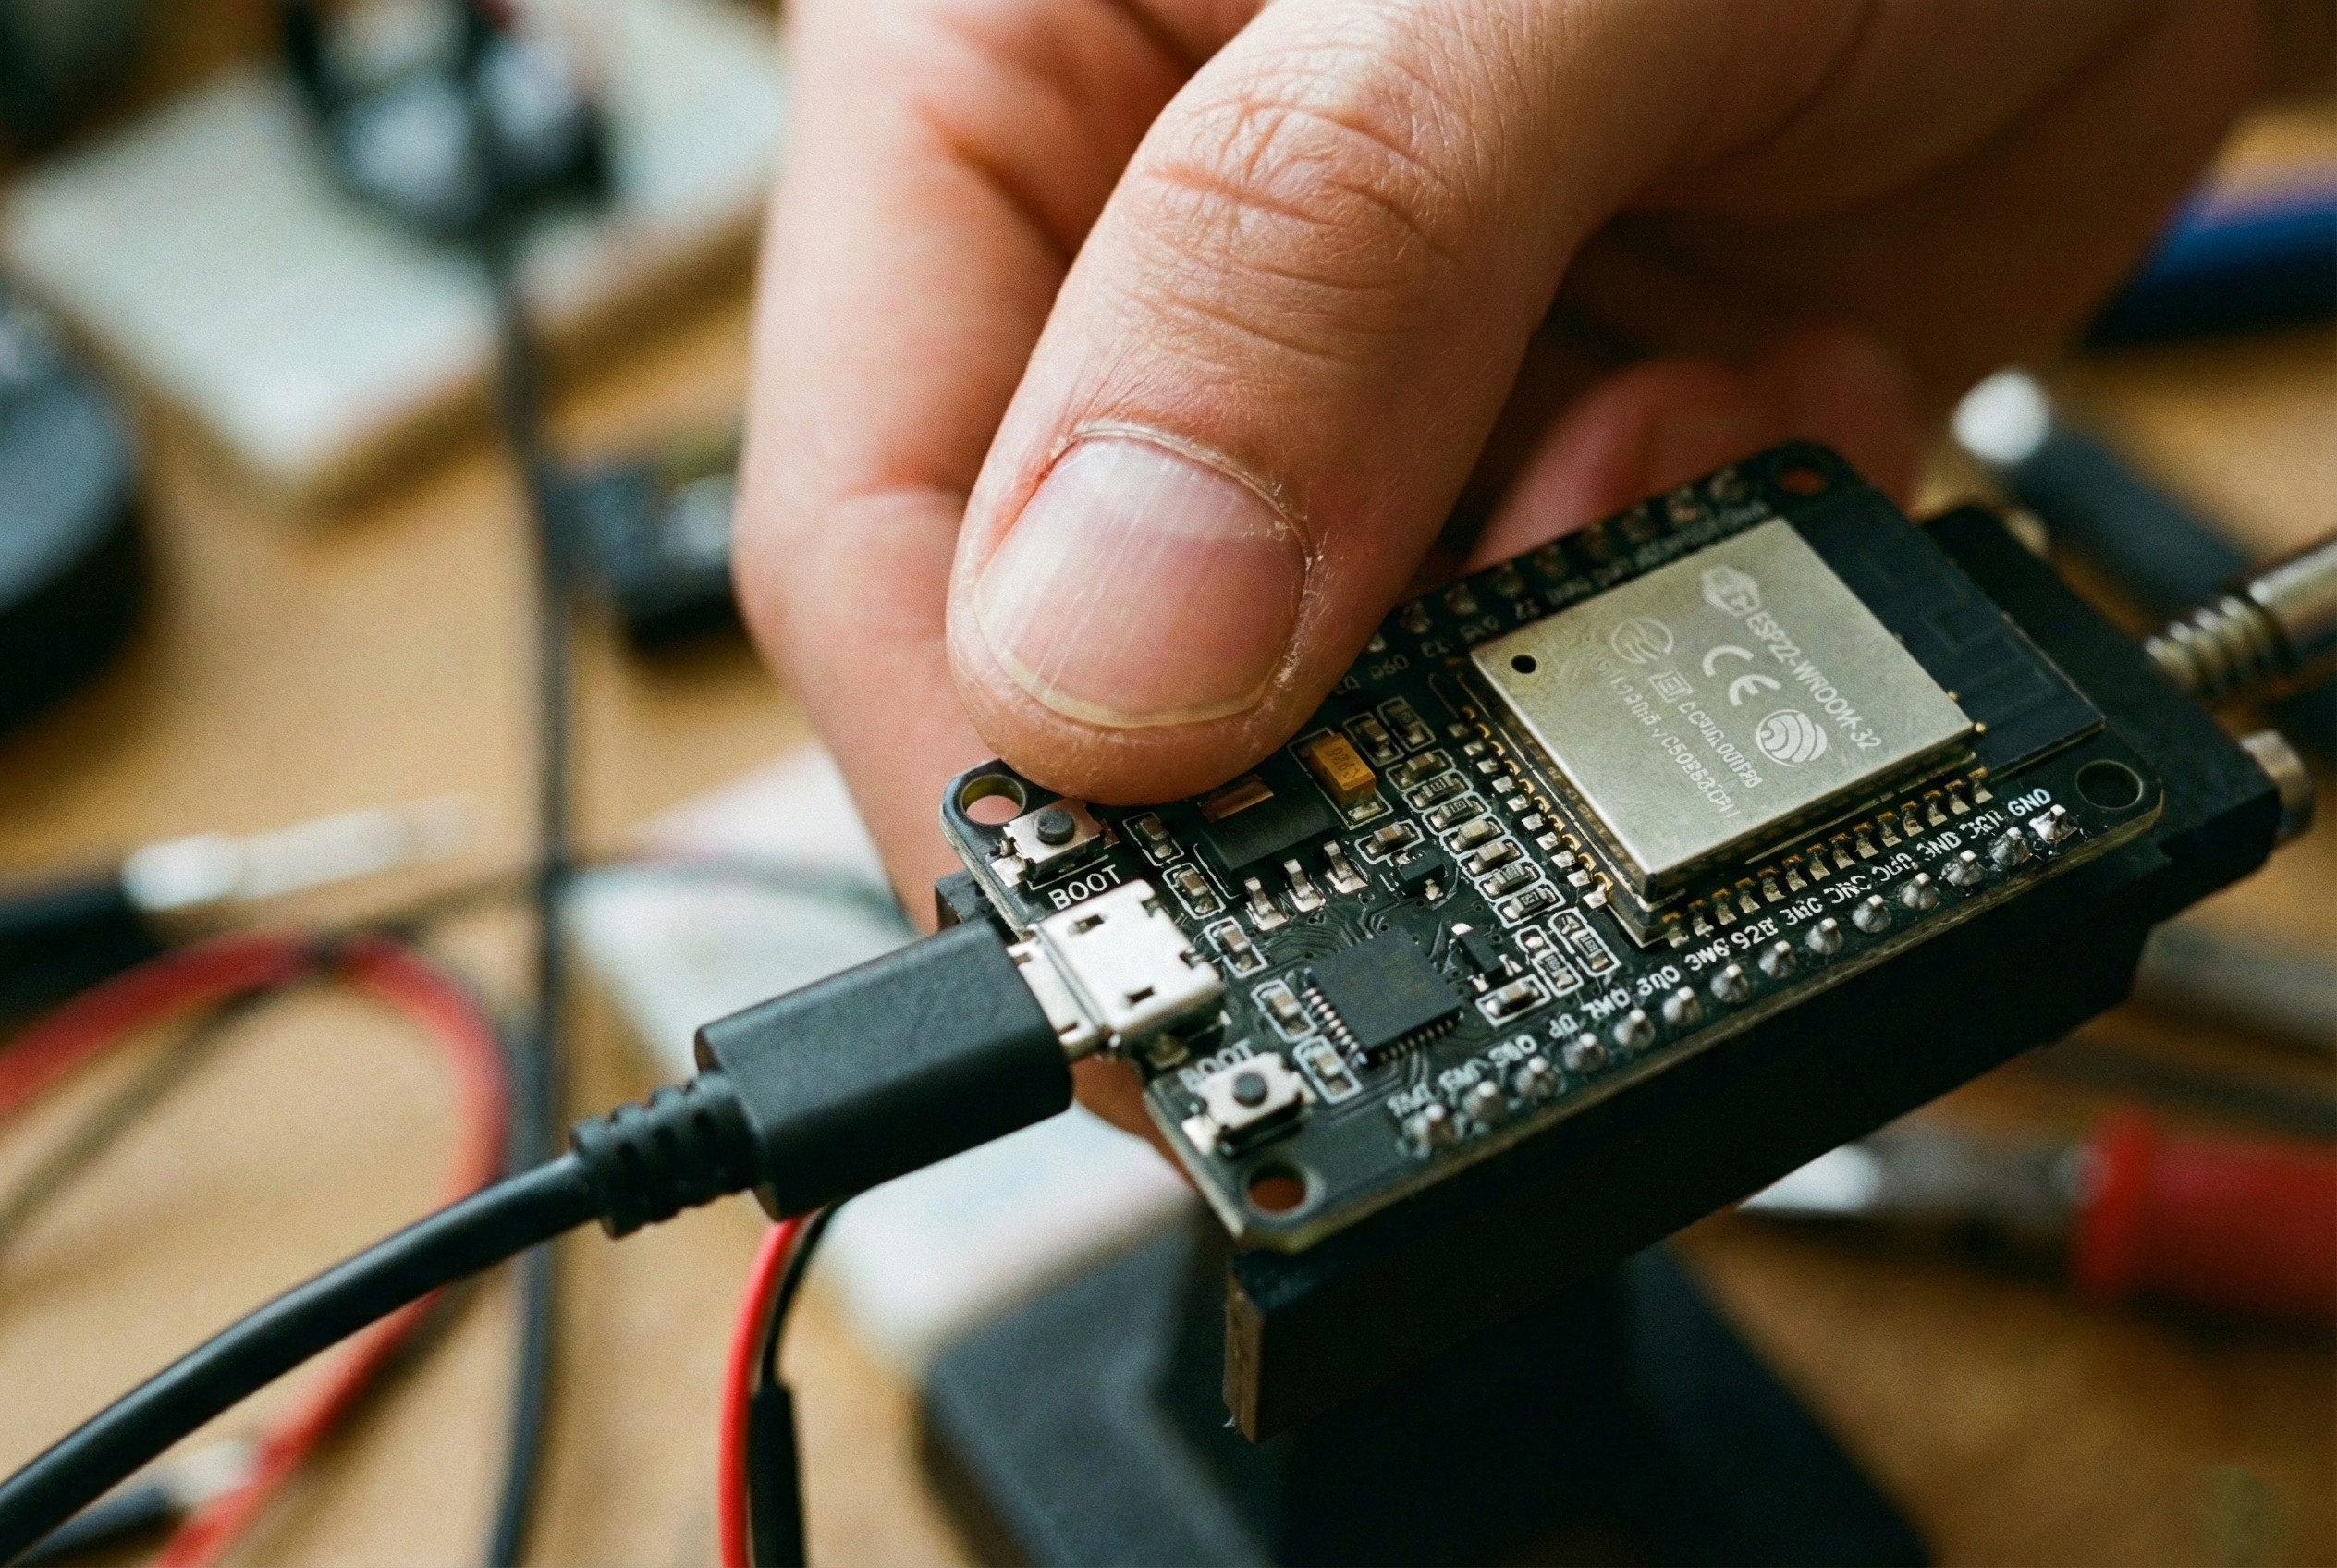
A very common issue users face is the error:Failed to connect to ESP32: Timed out waiting for packet header.
This means the ESP32 did not automatically enter download mode. The solution is simple:
- When you see the message "Connecting..." at the bottom of the IDE, press and hold the BOOT button on your ESP32 board.
- As soon as you see the upload starting (percentages % start running), release the button.
Conclusion
Congratulations! You have just set up your development environment for the ESP32. You now have the power to create smart devices, IoT projects, and much more.
Stay tuned to our blog for more tutorials and projects with the ESP32!
Share